Deluxe Paint on the Commodore Amiga
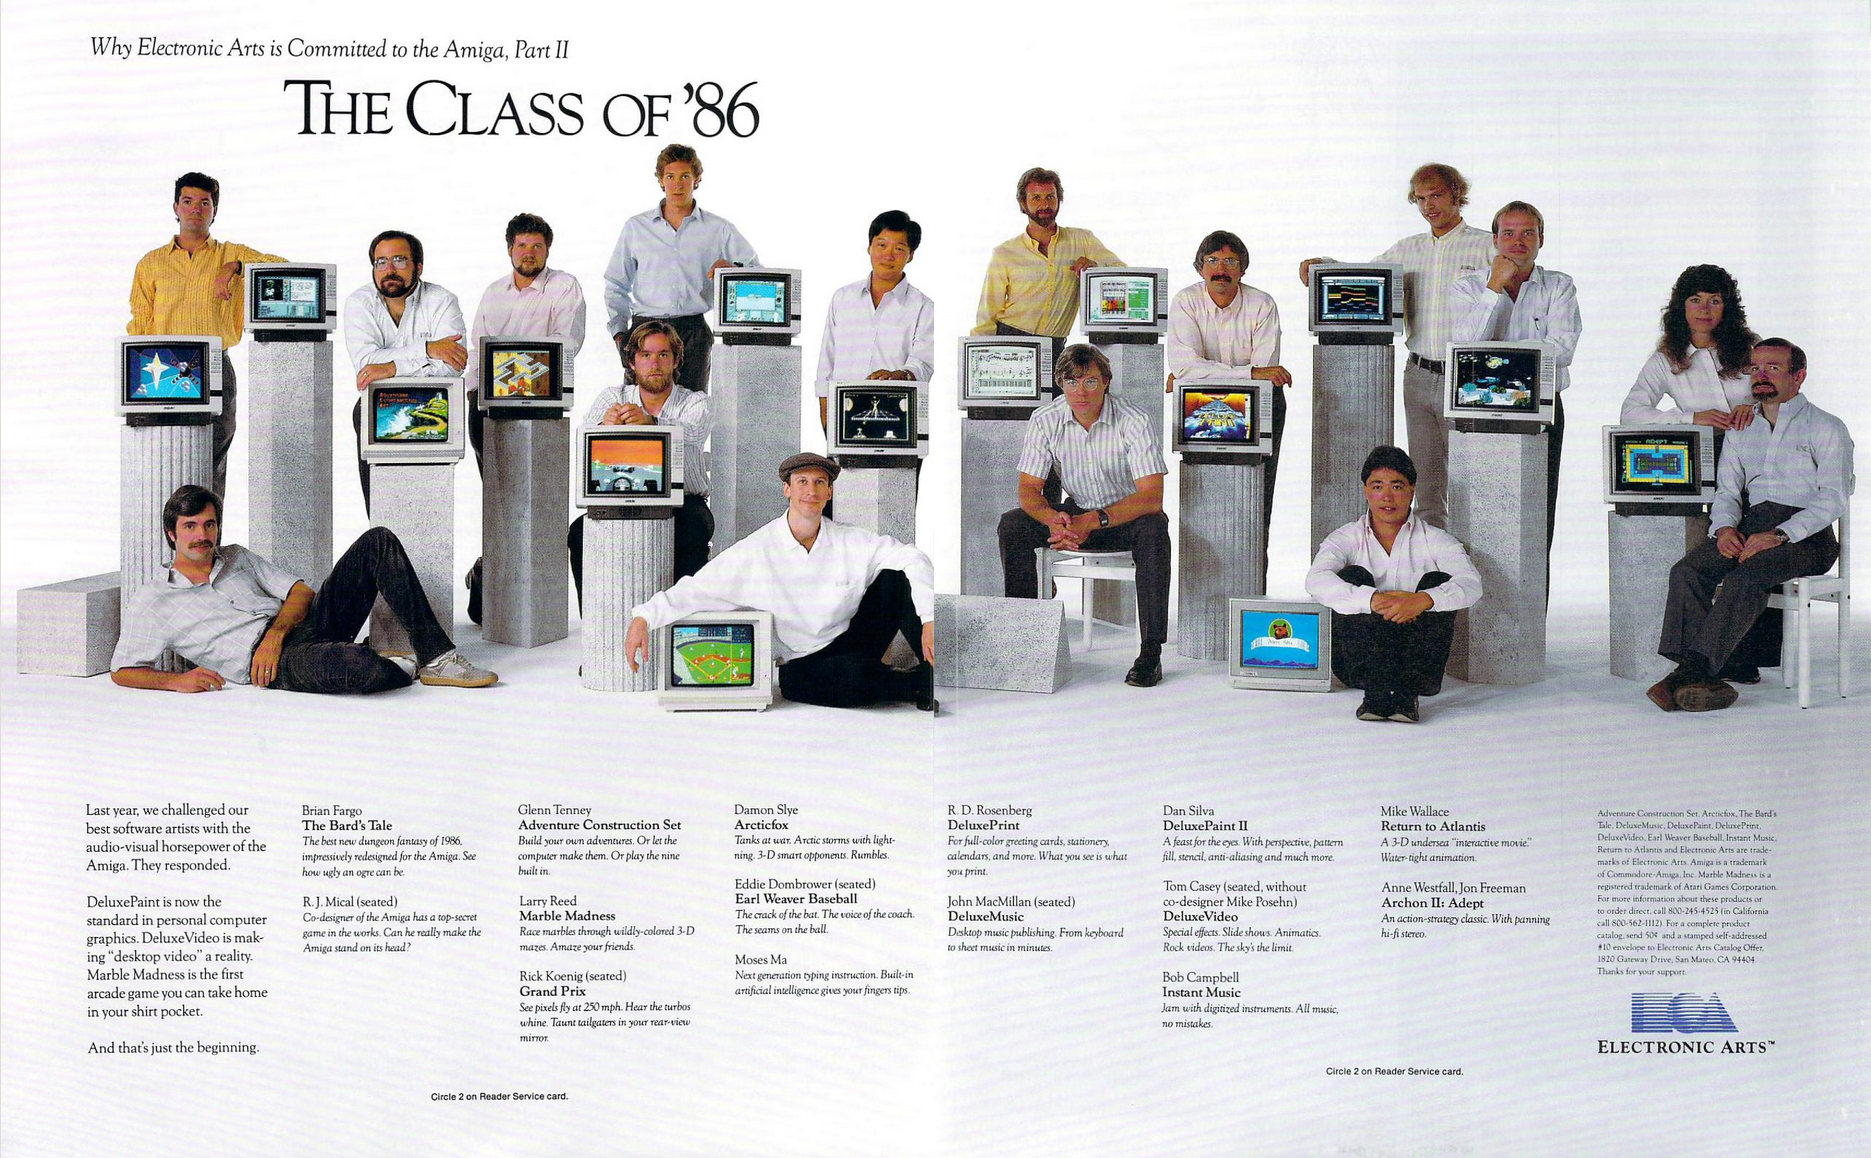
Back when EA was cool, they packaged their software in album-style sleeves and promoted their developers like rock stars. I was a Dan Silva groupie.
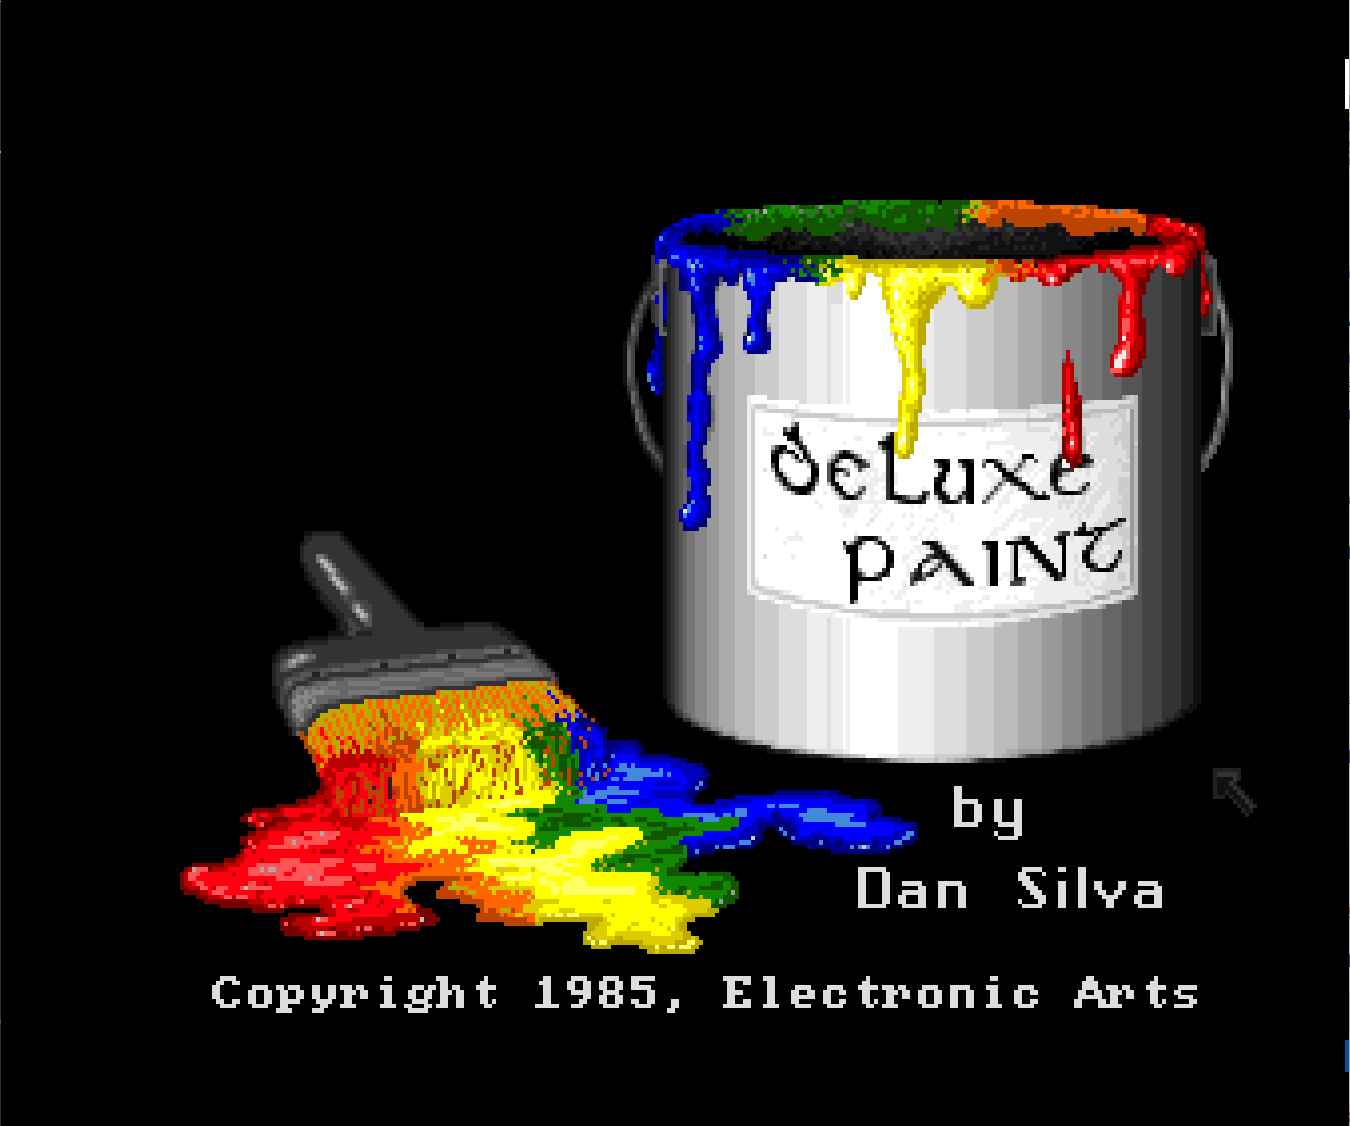
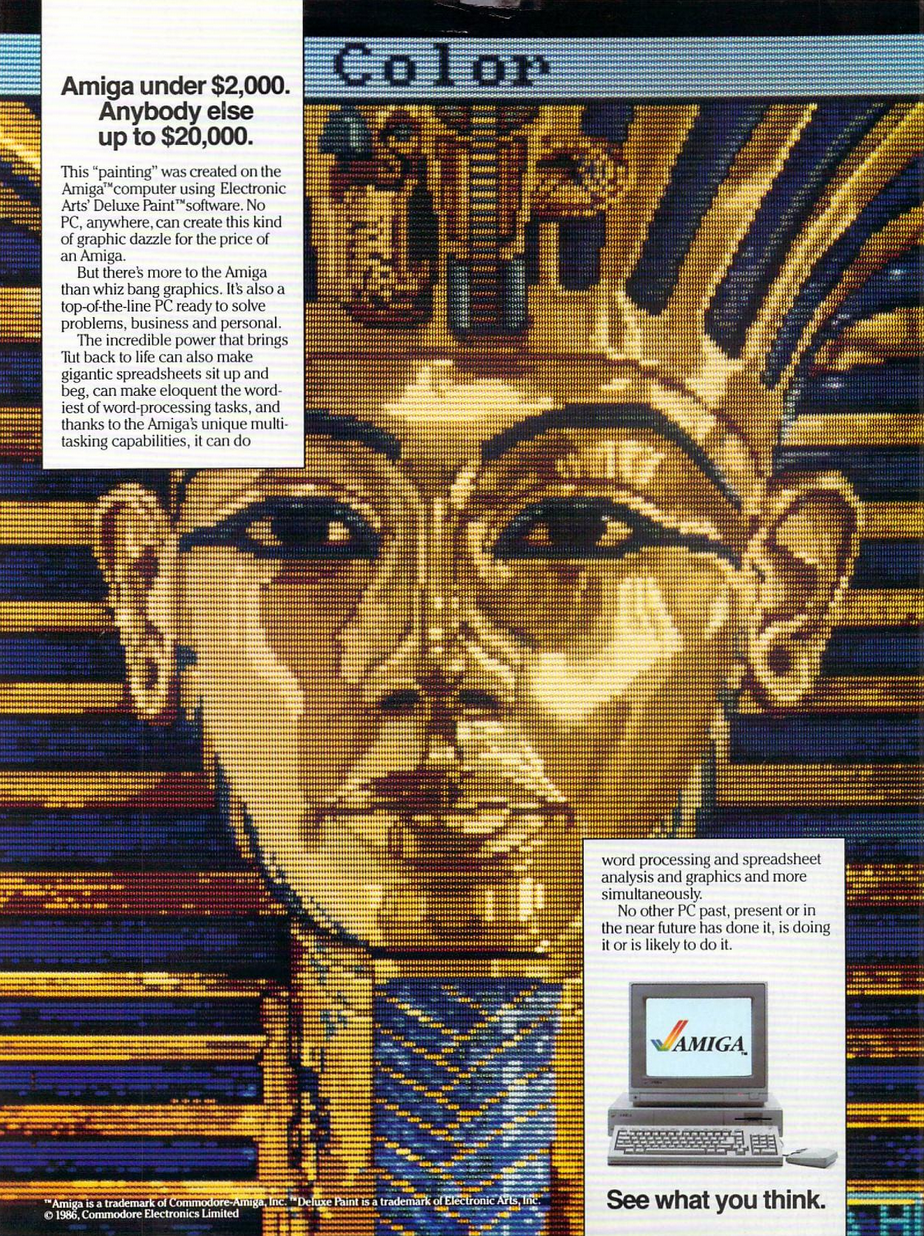
VisiCalc on the Apple II. Lotus 1-2-3 on the IBM PC. Aldus PageMaker on the Macintosh. Deluxe Paint on the Amiga. The computer industry loves a “killer app,” that unique piece of software that compels consumers to purchase new computer hardware just for the privilege of running it. I can personally attest to Deluxe Paint as it compelled even my technophobic mother to buy into its potential.
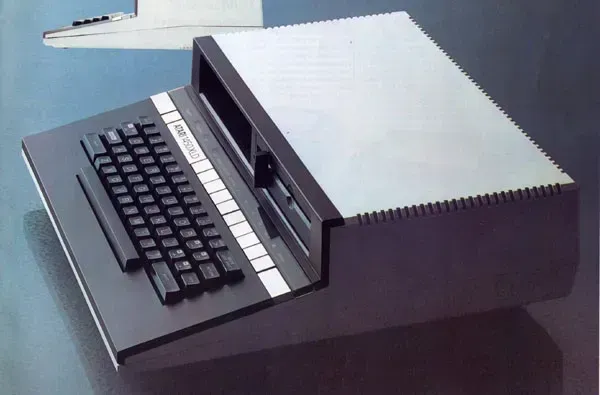
One day at a small strip-mall in Charlotte, North Carolina, mom went shopping for quilting fabric. I, a teen with less than zero interest in quilting or fabric or being seen with a parent, wandered into the computer store a few doors down to lust over the black and chrome Ataris. Maybe this would be the day I finally saw an Atari 1450XLD in the wild! I was obsessed with the futuristic stylings of that line; they looked powerful. I would get some serious work done. That specific device never released, but what I found instead changed my life.
The salesman really didn't have to work too hard that day. So much of the demo of the Commodore Amiga (not yet called the 1000) left us in awe, but it was the art and color-cycle animations in Deluxe Paint that sealed the deal. The decision was made to upgrade the family computer from the ADAM to the Amiga.
Though it was my first experience with a mouse, I was pushing pixels around like I was born to it. As I learned the way of the pixel, I remember feeling clever when I devised a way to smooth hard pixel edges (“anti-aliasing,” I later learned) and to checkerboard two colors to simulate a new color (“dithering,” I later learned).
Those who used Deluxe Paint continue to chase its high. Would-be successors to its pixel-art throne come and go, but none have clicked in quite the same way. Let's see if a re-connection is possible with my old love after. . .
(I feel physical pain writing these words)
FORTY YEARS
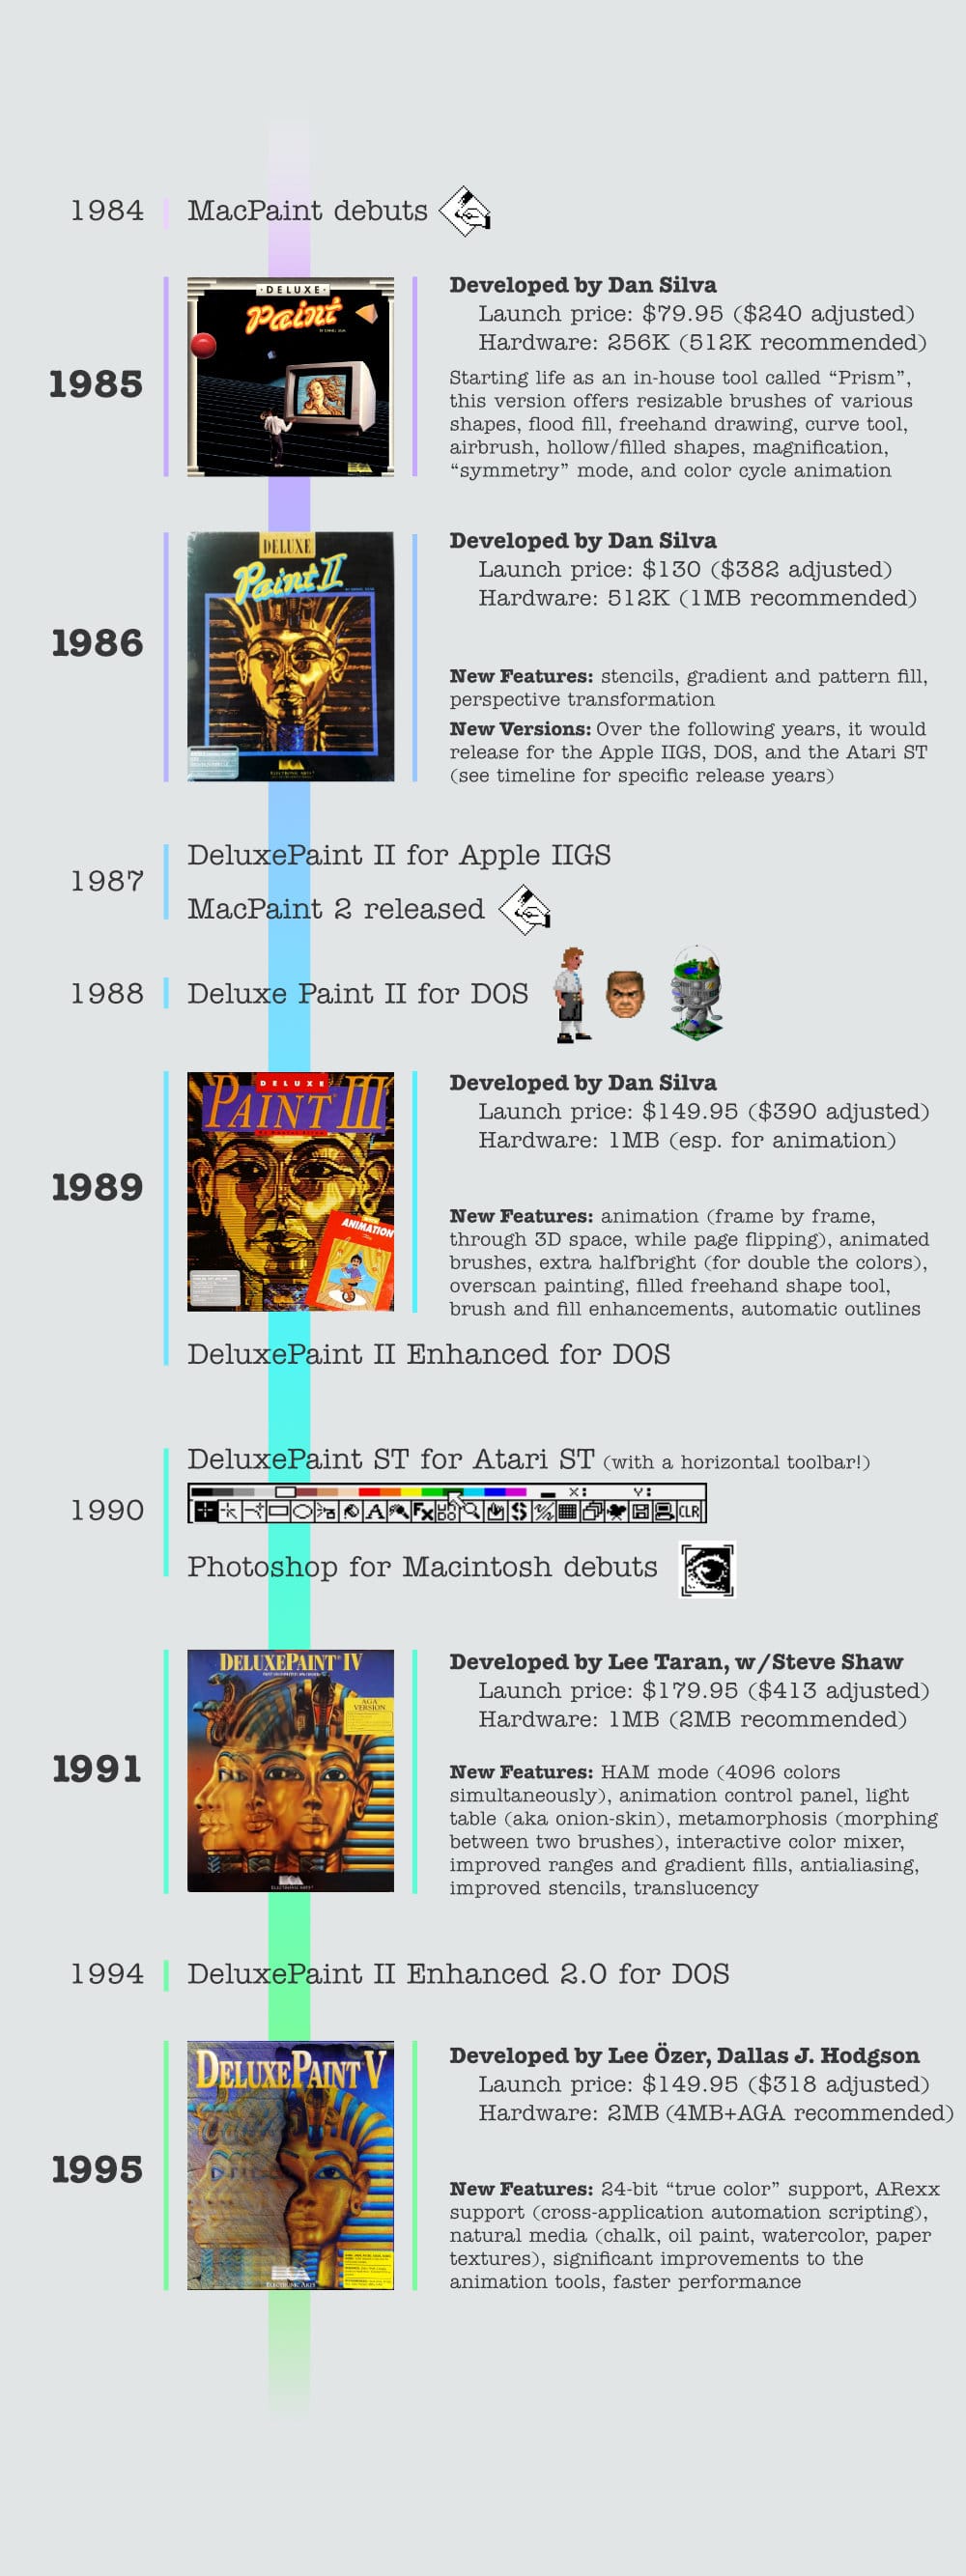
Historical Context
My Testing Rig
- WinUAE v6.0.0 (2025.07.02) 64-bit on Windows 11
- Emulating an NTSC Amiga 1000
- 512KB Chip RAM, 512KB Fast RAM
- 68000 CPU, 24-bit addressing, no FPU, no MMU, cycle-exact emulation
- Kickstart 1.3 / Workbench 1.3.5 HDF (from Amiga Forever)
- Windows directory mounted as my “hard drive” which makes it trivial to access the images I create from Windows
- Emulating an NTSC Amiga 1000
- Deluxe Paint III v3.25
Deluxe Paint III was my last personal experience with the program and was the last version creator Dan Silva developed, so that’s the version I’ve chosen to examine. I remember it being more than enough for me at the time, and I suspect it could yet be a good fit for my (occasional) pixel-art needs. It lacks one key feature that I think I’ll miss: layers. We’ll see how it goes.
My Task
To evaluate the program, I need a goal. I will work through Chapter 6 in the manual, titled “Painting Tutorials.” As well, I’ll take a peek at the animation tools introduced with this version. I’m particularly interested in “animpainting” which is, “painting while the frames flip.” That sounds pretty rad.
Let's Get to Work
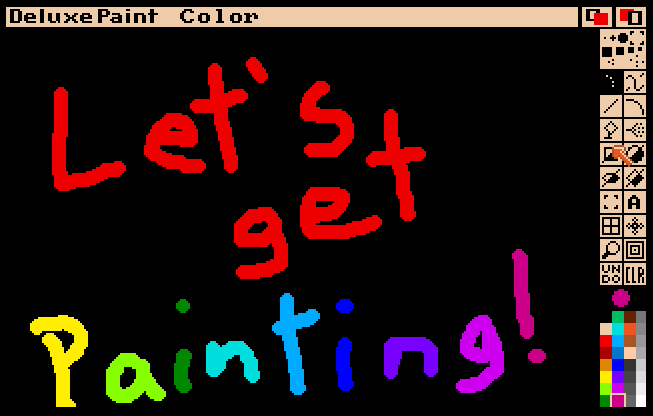
From Windows desktop, I'm "ready to paint" in about 30 seconds and the sight of that familiar toolbar feels like a small reunion. A slim vertical column, it's neatly packed with the tools you’ll spend nearly all of your time in: brushes plain and dotted, shapes filled and unfilled, airbrush, text, magnification, and my personal favorite "symmetry." Most are summonable by keyboard, even mid-stroke. When present, the UI never feels like an obstruction, but it gives way by F10 for a full-screen canvas, or politely steps aside by F9, hiding but not disabling the menu bar.
The default color palette stokes some dormant ember of love that I realize now will smoulder until my death bed. It's been 40 years, I should have moved on. I thought I had! But feeling again the precise, silky movement of the brush confirms that all future loves will be (fairly or not) compared against Deluxe Paint.
As I play around exploring the tools, I do wish I/O polling of the mouse were better. Swiftly-drawn curves are flattened out into a series of discrete lines which only approximate my motion. If I wanted to lay down large washes, I would want fast, perfect, full-screen brush motions. I don't typically work that way, so my personal drawing needs are well-met.
I see demonstrable lag in certain brush effects, however. A fat brush in symmetry mode requires slow, precise movements to let the system "catch up." The “smear” effect is similarly slow, especially considering it just push-scatters pixels along the brush stroke (the 32-color palette can't actually "mix" colors). Combining those into “symmetry smear” just combines the slowness.
Clearly we’re at the boundary of what a 68000 CPU @7.16MHz system can pull off with finesse, even with Denise's assistance. That said, even if the system struggles it doesn't fail. *knock on wood* Perhaps a virtual CPU upgrade is in order.

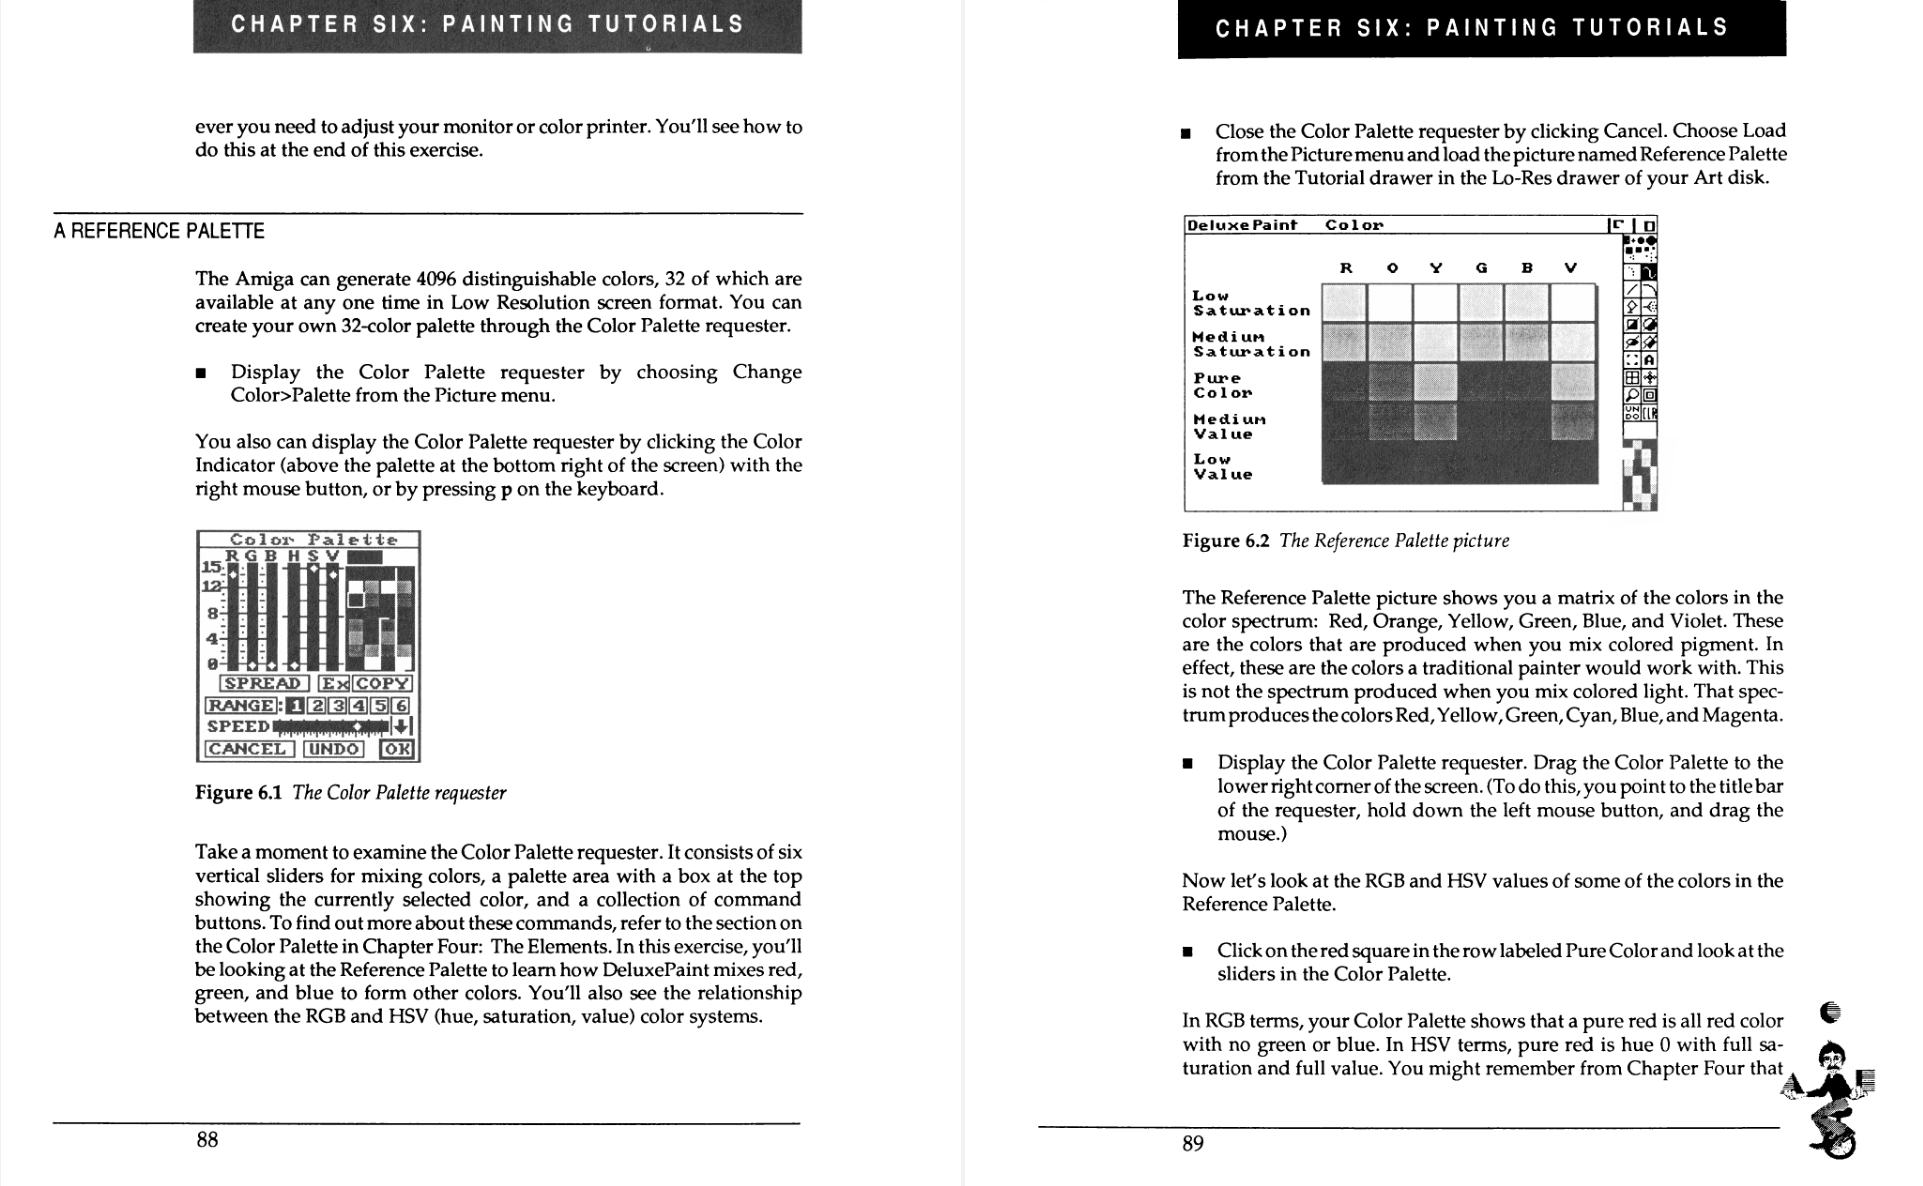
Color theory
The tutorial begins with a focus on color. Mixing colors, RGB vs HSV, "spreads" (gradients), "ranges" (a set of contiguous palette colors, for flood fill and color-cycling), and other palette manipulations. I'm struck how Deluxe Paint's UX feels somehow more "color-centric" than current software. For example, here's how gradients are built.
- Deluxe Paint : select a start color, click "Spread", click an end color
- Affinity Photo: select a pre-built gradient, adjust colors in a gradient designer
Generating a spread just redefines the colors in our palette. There is no relationship between the colors, other than visually. This is great for mixing up new colors, but spreads are made more useful by "ranges."
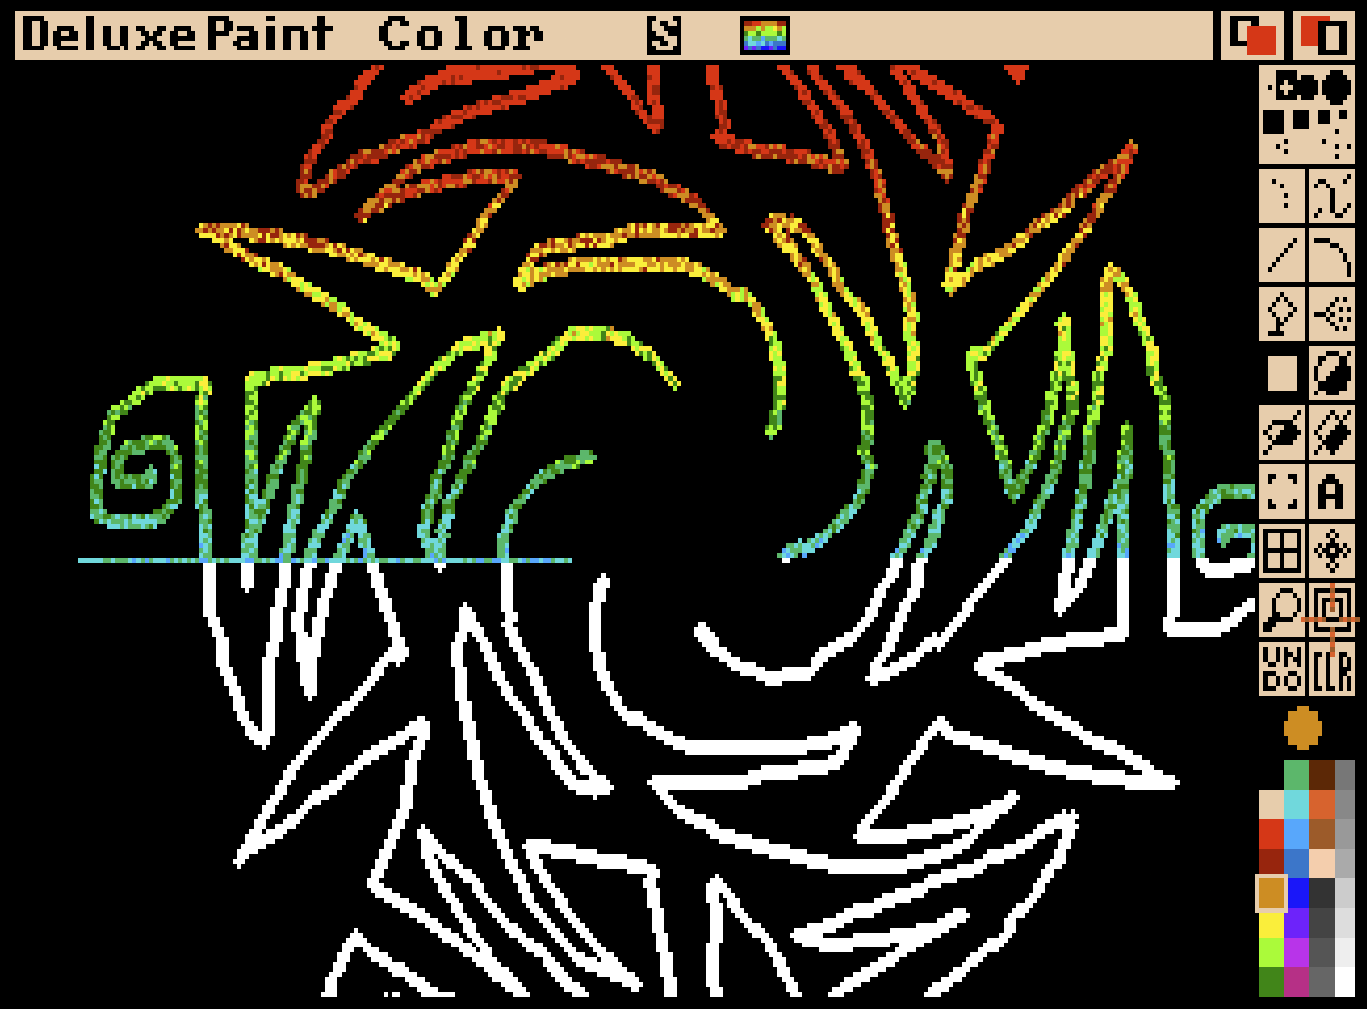
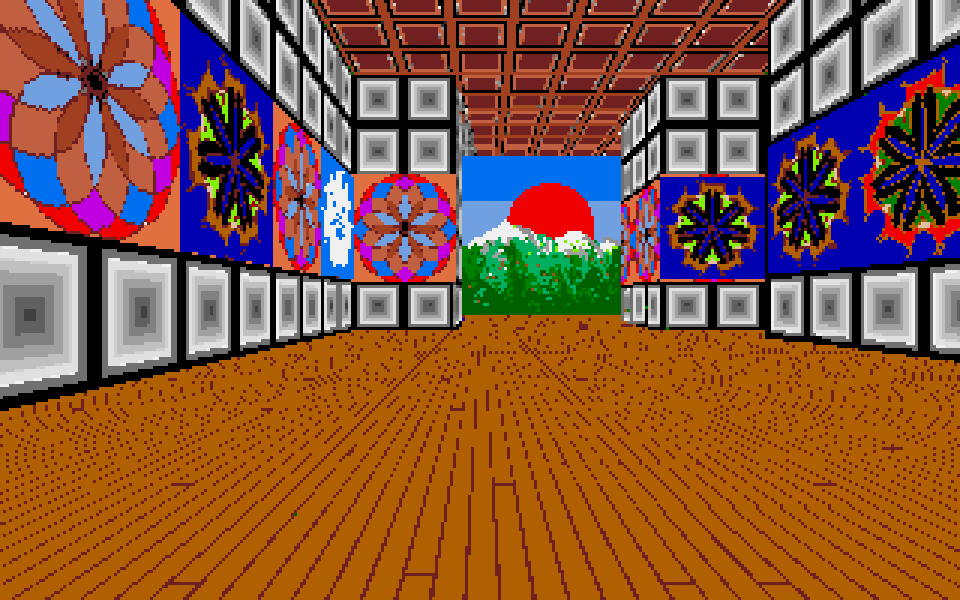
A color “range” is a user-defined contiguous subset of palette colors which has an associated dithering, speed, and direction. Perhaps you’ve seen the color-cycle animations of Mark Ferrari? (Perhaps you’re an Aseprite user who has been patiently waiting since 2019 for color-cycling to be added?) The clever application of colors within a range can produce pleasing color-cycle animation effects.
“Ugly Waves on an Ugly Beach" - Christopher Drum, 2025 (look at the palette to see how the colors are cycled through in position)
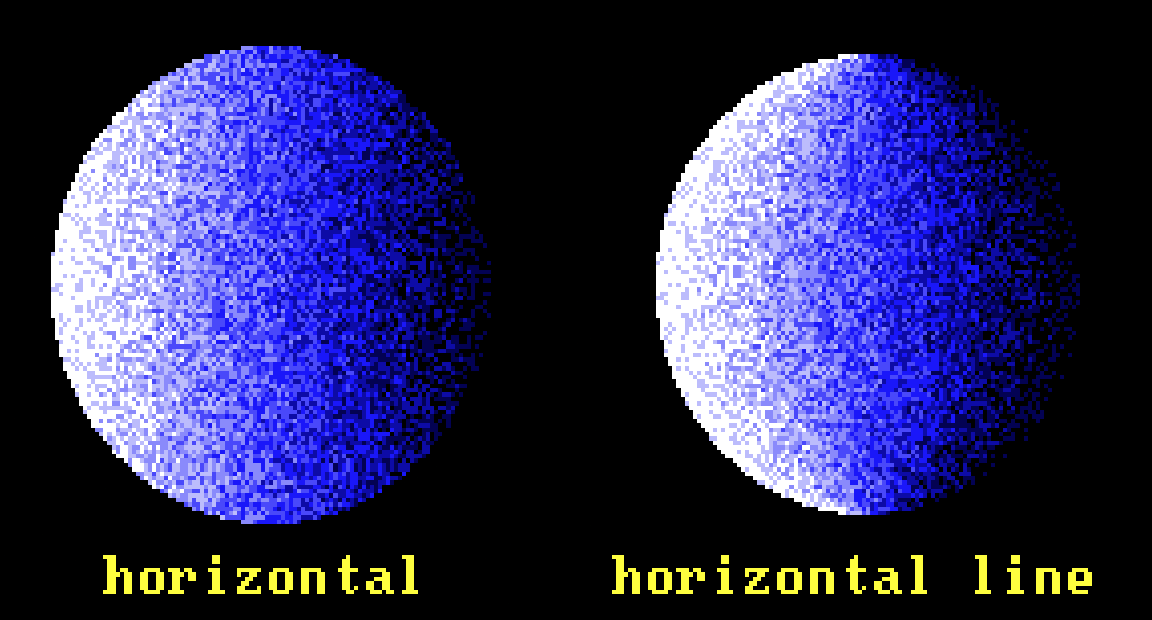
Any brush that does flood-fill can flood-fill with a range. One option forced me to check if it exists in Affinity Photo (it does not). Linear gradient has horizontal fill and horizontal line fill. Horizontal line fill scales the gradient per horizontal line, so each line begins and ends with the start and end colors of the spread. Now we can draw “realistic spheres!” (I guess "realism" had a looser definition back then.)
Separating the art UI from the artist
While working through the tutorial, I jump into modern programs for direct comparisons: DPaint.js, Aseprite, PixiEditor 2.0 (released while I was writing this), Pro Motion NG, and Affinity Photo. Until I started doing this I hadn’t really internalized how much the Adobe-ification (Microsoft-ification?) of palettes and panels and toolbars and menu options which open entirely other screens of UI panels and toolbars and menus has frozen the evolution of creativity software. The UI chrome of modern products suddenly feels boxy and oppressive, and I find my emotional approach to that software reflects the same rigidity.
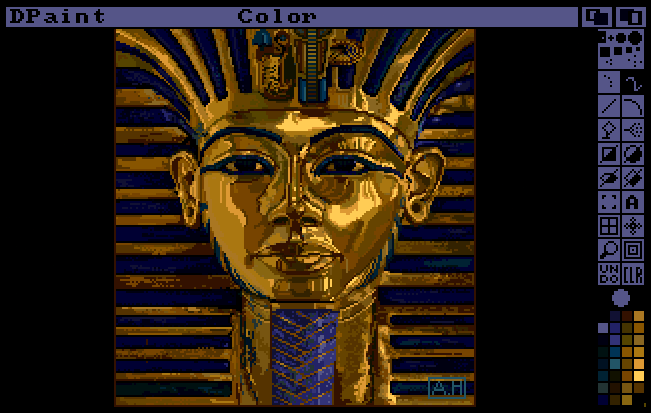
Dan Silva once told the Computer History Museum
“The first version of Deluxe Paint that I got going on the Amiga had no menus. I basically got the skeleton of the program going, and it was all keystrokes. You could do anything. The first paintings on that program were done by Avril Harrison (she of the Tut image). As I recall she did them without any menus, using the PICK command to pick colors out of the screen, and it worked fine.”
I’d like to just sit with that thought a moment. The first version of Deluxe Paint had no menus; it was all keystrokes and it worked fine. A keyboard-friendly mindset continues into Deluxe Paint III. Its robust keyboard controls allow the artist to switch up drawing tools on the fly without having to mouse back over to a toolbar.
Mind you, I’m not lamenting how things “should have” turned out. I’m not angrily shaking my fist at the clouds, onions tied to my belt, “We’re doing it all wrong!"
However, I think there is a kernel of knowledge in there about software’s relationship to the artist that is under-explored. The common cry “artists are visual people” discredits artists as being somehow incapable of learning software which doesn't shove every tool, option, and setting into their faces at all times. Basically, I’m not convinced a cockpit of controls is the best UI for making art.
Slightly behind the bezier curve
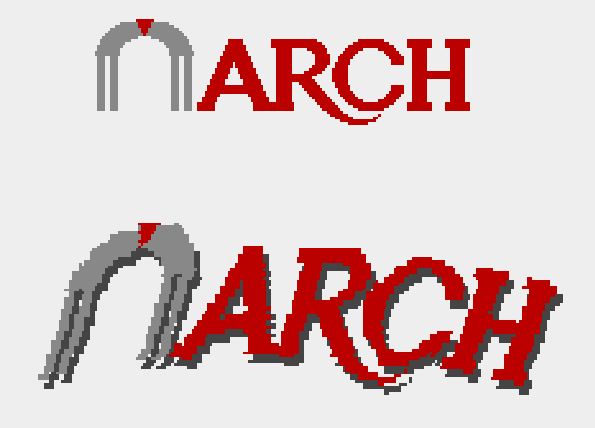
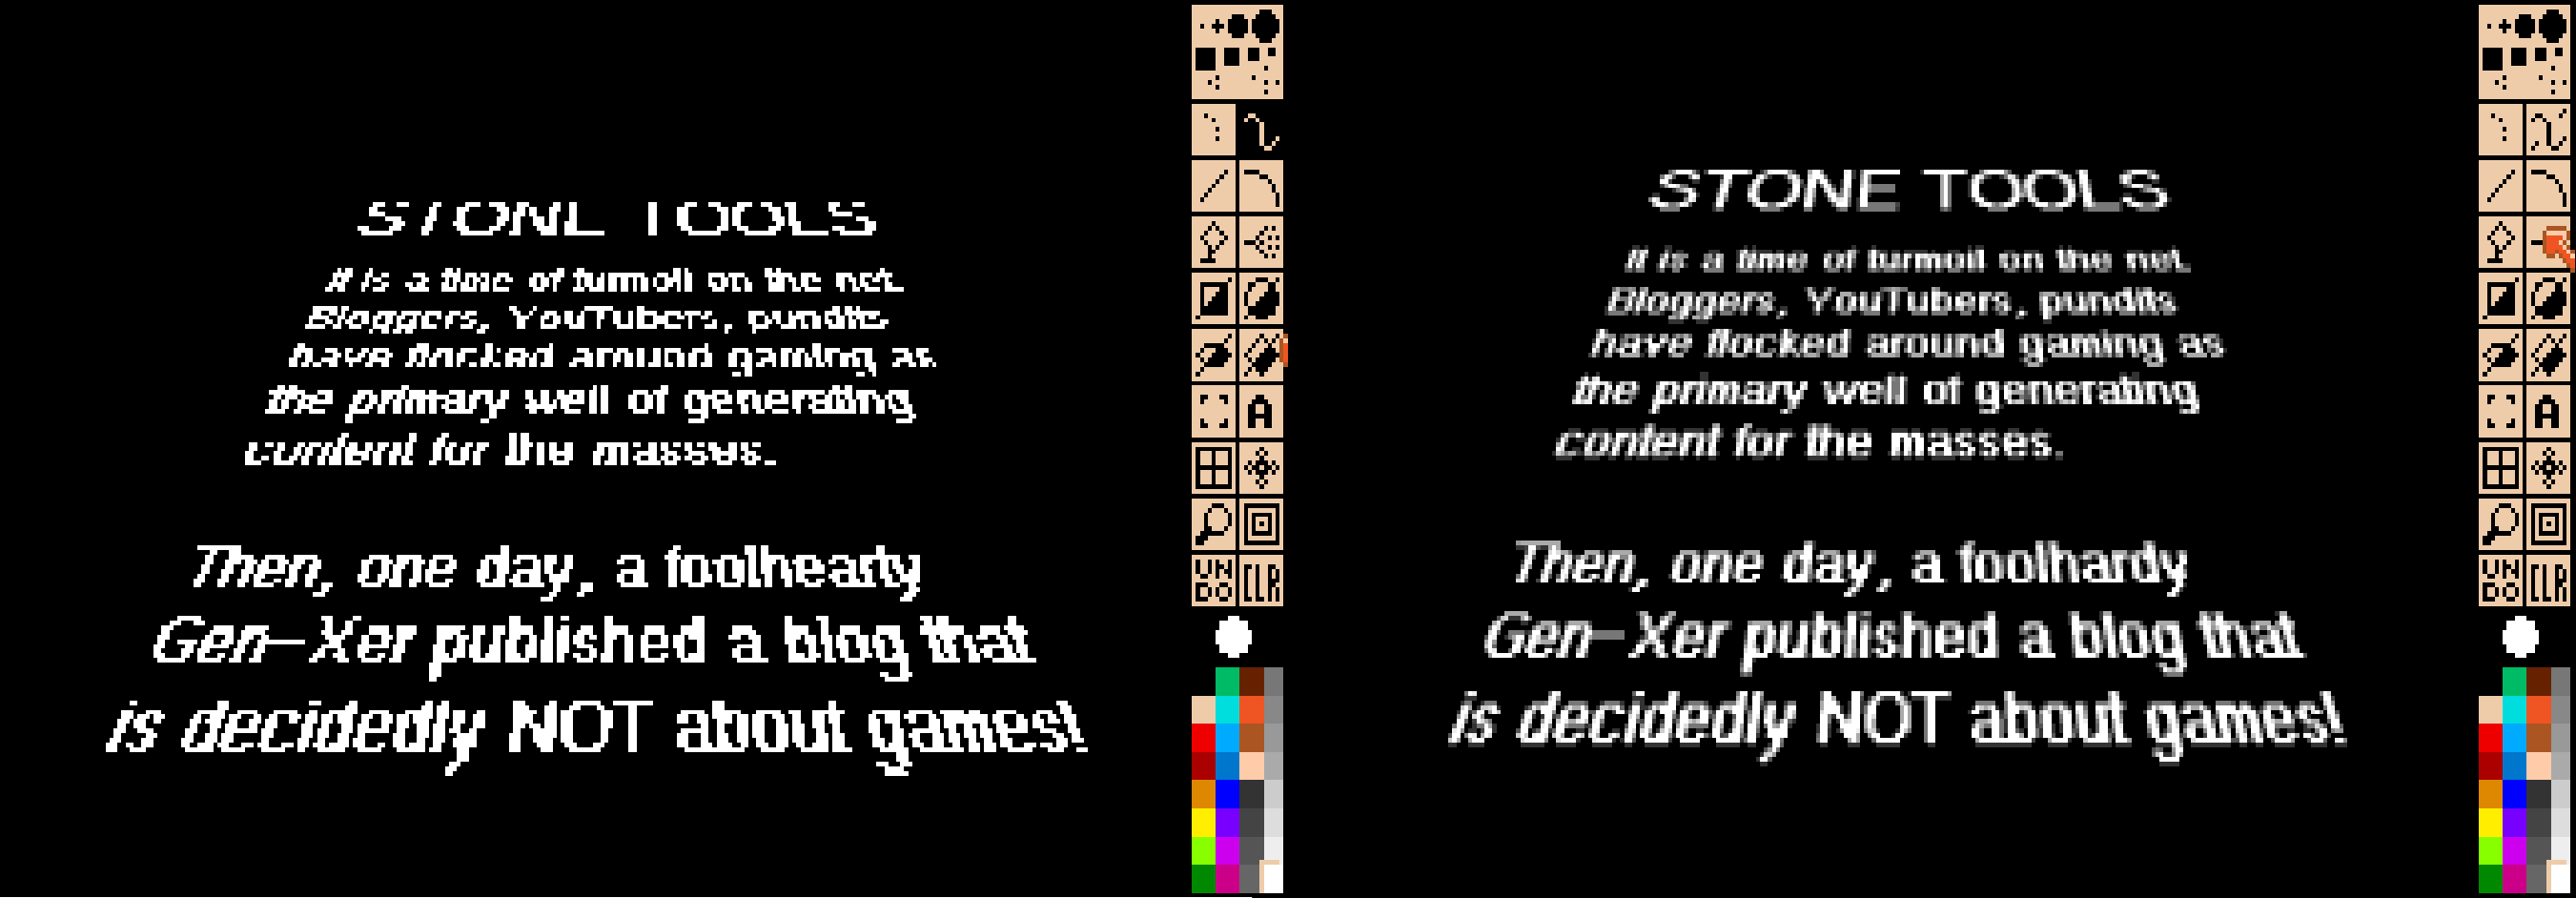
Returning to the tutorial, now we get to dig into real, practical work. “We will take a relatively plain corporate logo and spice it up,” it says. The manual is from the 80s, so are pastel triangles with neon squiggles, the "giant shoulder pads" of graphic design, coming our way? Well, we’re here for the software, not to pass judgement on the times. Full steam ahead!
Deluxe Paint has the concept of a “brush.” I say that like you've never seen a brush before, but it is a very core object upon which a lot of Deluxe Paint's advanced functionality rests. Simply put, a brush is an arbitrary selection of pixels. You can freeform paint with it, use it to draw shapes, or just click around stamping down copies.
Brushes may be modified by applying irreversible transformations. This is the point of the review where I say a silent prayer of thanks to Monsieurs Casteljau and Bezier and whomever developed unlimited undo. Low resolution logos with aggressive transformations applied can quickly degenerate into a heap of pixels that resemble the original only if we squint and agree to the fiction.
Multi-color brushes can be used as single-color in "Color" mode, great for laying down pixel-perfect drop shadows. Colors in a brush can be swapped or replaced to quickly experiment with new color combinations. You can "Outline" the brush in the current background color, but the effect is weak, and there are easy, manual ways to produce better results.
Not quite masking, not quite layers
Part three of the tutorial digs into a very cool feature: stenciling. You know it as masking, but with indexed colors it works a little differently. We can lock specific colors of our palette to prevent them from being affected by any further paint or fill effects. It’s quite satisfying to see thin strokes being pixel-perfect filled with a dithered gradient leaving the background untouched.
Stenciling is shown as a real-time composite effect, which feels like magic for a system from 1985. If I have a big, multi-color brush loaded it will peek through unstenciled colors, and hide behind stencils without lag. It’s awesome.
Then, a big secret is revealed. While we have been working on this canvas, there has been a second blank canvas waiting for us the entire time. Press j to “jump” between the two. Use one as a scratchpad, use the second for your artwork proper. Or just draw two pictures? Stamp a copy of your brush down in one, transform it in the other. The program continues to reveal its depth.
We’re taught that if we want to move a window around, we can grab it by the title bar and move the window to any position. Ah, to be naive about basic GUI actions again!
In addition to locking individual colors, we can also lock the entire image, defining it as our background. Once set, "Clear" on the canvas reverts back to that locked image, like a permanent underpainting. With the background locked, we can paint on top then lock those pixels as the "foreground."
Having now locked both the background and the foreground, what happens when we try to paint? What other ground is there? Some kind of. . . middle?. . . ground? No, that word isn’t even in the manual. I guess I could try it and. . .GASP!
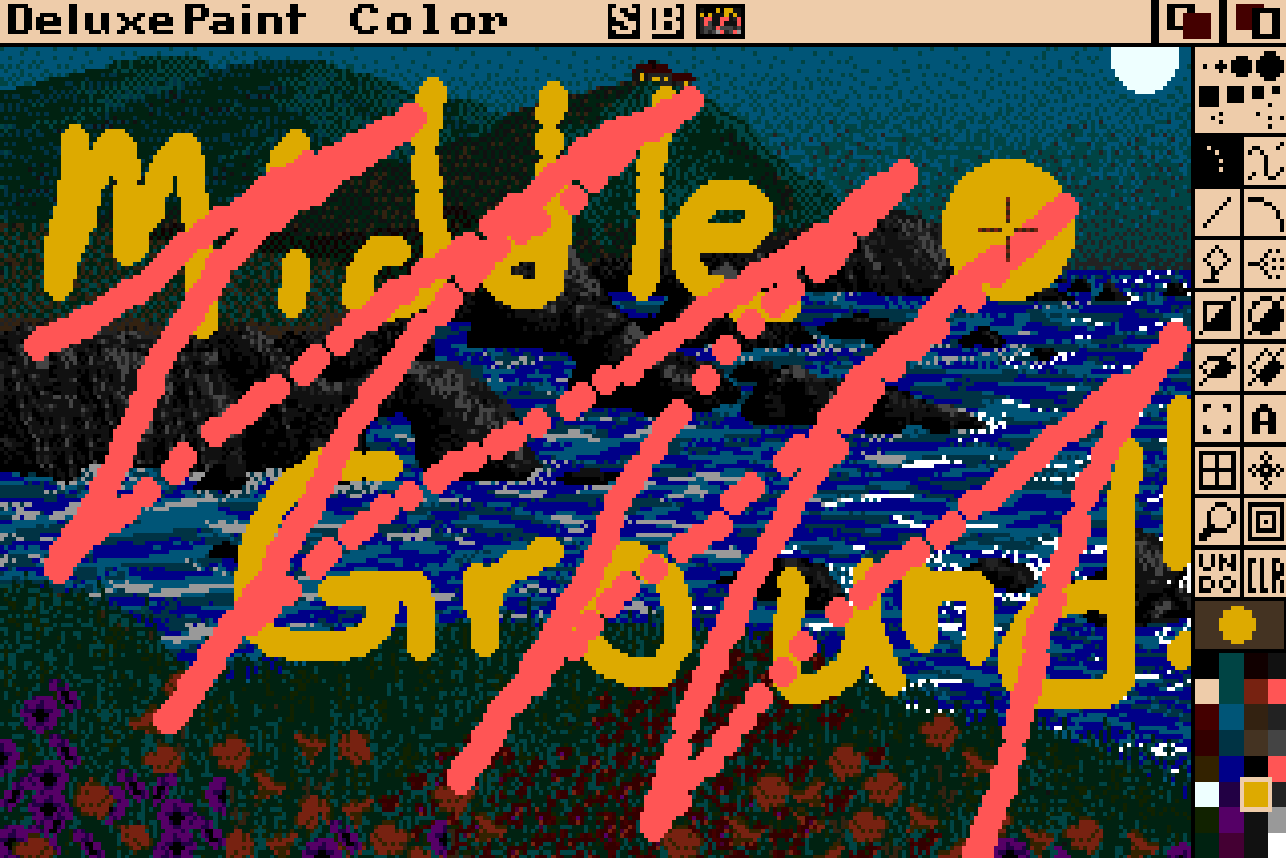
So we are now painting between the background and foreground images, making "layers" tantalizingly close to realization. Even if there had only been three (fore, middle, back), Deluxe Paint could have beaten Fractal Design Painter to the punch. Marvel must surely have a multiverse where that happened.
Lost in translation
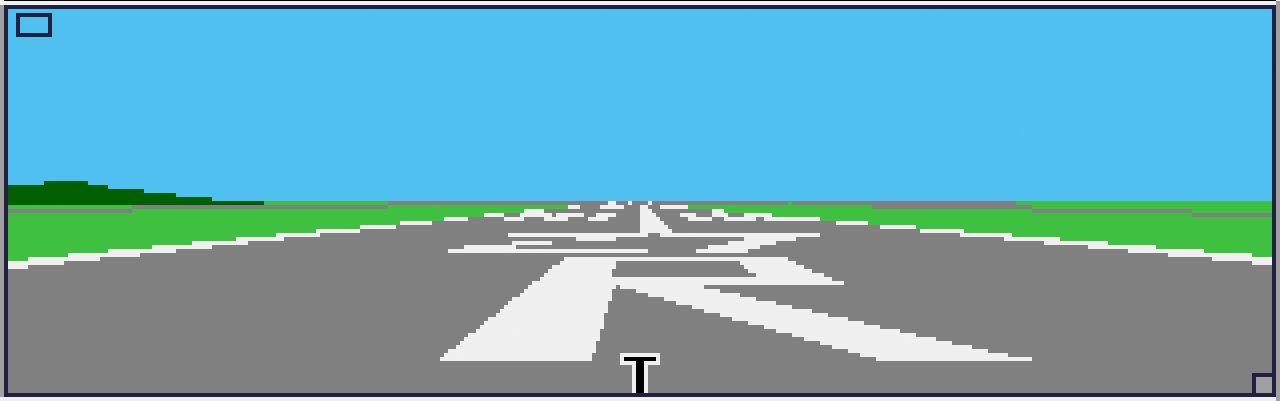
The tutorial ends with the 3D perspective tools. I remember back in the day being amazed at anything resembling 3D perspective on the computer screen. Even the mundane runway numbers on the tarmac in Flight Simulator seemed like impossible magic.
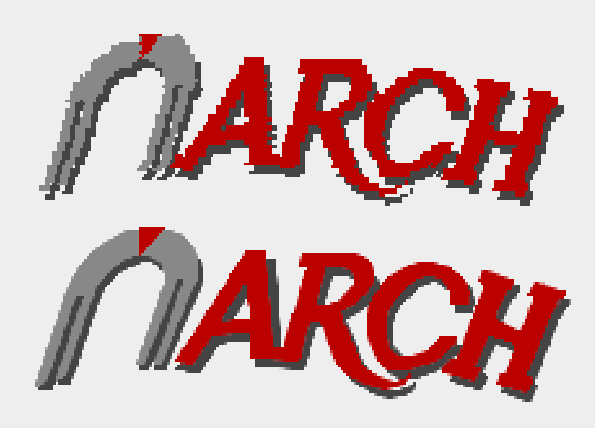
Trying to follow along with the perspective tutorial is proving difficult. The steps required to use it smoothly are complicated, though it is still a neat trick. SHIFT + Keypad # is used to apply a 3D rotation to the brush. For example, SHIFT + Keypad 8 spins the brush backward on the X-axis, which gives us a quick and dirty (emphasis dirty) Star Wars text crawl effect.
Brush movement is handled by mouse for X and Y, and : “ for Z. Rotation is handled by keypad. SHIFT allows coarse steps with the keyboard control. ALT + mouse moves forward/backward through Z-space. There are tools for setting the horizon line, changing angle calculations, determining 3D relativity (screen space vs object space, which can be separate for movement and rotation), setting a grid for fixed-space snapping, setting the anchor point of the brush around which transformations occur, and more. It’s overwhelming and doesn’t feel coalesced around a solid vision of “how to control objects in 3D space.”
My love feels a first twinge of betrayal.
Working with this tool is not pleasurable. Often, a 3D movement results in a coarse, jerky response that is visually hard to read and when it's done I can't immediately understand the current state of the brush. Even the example image provided on disk to show off the feature is lame. It’s a lot of training and learning for a small payout. A novelty.
One door closes, one door opens
Animation, on the other hand, is fantastic. Forget what I said before about betrayal! I'm sorry, I should never have doubted you Deluxe Paint. You're awesome!
At its most basic usage animation is just a flip-book. Set a number of frames (memory permitting!), draw on each frame (keyboard control for stepping forward and back), then play those frames back in sequence. It's a simple, easy to navigate animation method.
“Animpainting” auto-steps the frames while you draw. You can do something akin to "puppeteering" a brush. Take a “ball” brush, move to frame 1, hold down Left-Amiga (left ALT on a non-Amiga keyboard) and start drawing. As you draw, the brush paints itself across frames. Played back, your brush movement has defined the animation movement.
The relatively complex “Move” tool lets you precisely define a rudimentary motion path across a desired number of frames. Using the oddly-named “Dist” and “Angle” settings, you numerically define the position and orientation in 3D space where the brush should appear in the final frame.
This is a slow process, so thankfully we can “Preview” the motion as a wireframe before committing to a render. When satisfied, “Draw” will go frame by frame, moving, rendering, and frame-stepping your brush automatically. This single-handedly sold me on the Perspective tool I soured on earlier.
This blog is not about games, but we can throw in a sly reference sometimes as a treat.
A brush, with greatness
Where "animpainting" captures your brush across frames, "anim brush" captures animation frames as a brush. As you move, the brush steps through its own frames, animating while you paint. These ideas can be combined into "animpainting with an anim brush" such that each frame of your brush is applied in turn to each frame of the canvas. In this way you can animate (say) a bird flying along any arbitrary path by simply painting a brush stroke. The brush stroke is your animation path.
"anim brushes" can be used in conjunction with other tools the same as any other brush can. Turn on airbrush and we can have "airbrushed animpainting with anim brushes." Then, turn on symmetrical drawing to get "symmetrical airbrushed animpainting with anim brushes." Then turn on color-cycling to get "color-cycled symmetrical airbrushed animpainting with anim brushes."
Consider something as simple as drawing in symmetry mode, then applying fills. In Deluxe Paint we can combine our tools into a "symmetry gradient flood-fill" and flood-fill multiple areas symmetrically, simultaneously. In Affinity Photo "symmetry," "gradient," and "flood fill" are three utterly discrete tools that do not interact with one another. Have I beaten my point to death yet?
I wonder if an overly developer-centric approach to modern software design has locked us into this "one tool at a time" mindset. Keeping tools independent and discrete must surely make it easier for Adobe to add features year-over-year. (argue in the comments if that is "good" or even "necessary"). Need a new tool? Just cram another button into one of the panels, slap an adjustment slider on it, and Bob's your uncle.
But returning to Deluxe Paint after all these decades, I understood something I hadn't realized before. Its tools don't just coexist, they collaborate with one another. It feels akin to an artist cobbling together a unique tool from stuff lying about the studio.
As the artist using them, I feel similar collaboration between Deluxe Paint and myself. My sense of creative exploration is encouraged. I’m encouraged to play, not just follow procedure.
My mid-range laptop today is some 50,000x (?) more powerful than that Amiga, yet the laptop’s power seems almost exclusively funneled toward the mechanical goals of speed, scale, and rigid precision. I humbly suggest we're overdue in turning that power back to humanistic goals like play, intuition, and surprise.
Deluxe Paint still holds up, admirably so in fact. Using it again after all these decades, it remains one of the purest forms of digital expression I think I've ever used. It was a genuine pleasure to reconnect with this beautiful software.
Sharpening the Stone
This being the first in the series, an explanation of this section is in order. Here, I will address ways to improve the experience of using the software, point out notable deficiencies, explain workarounds, and in general give pointers about incorporating the software into modern workflows, if possible.
Tweaking the rig
A wonderful side-effect of using an emulator on modern hardware is that "hardware upgrades" to the virtual machine are just a click away, not "solder an expensive daughtercard to a motherboard."
Not every program handles faster hardware appropriately, but Deluxe Paint III absolutely benefits. Multi-color symmetrical gradient fills are very fast, but not instant. Fast mouse motion is captured more accurately, but again it's not perfect.
- Tweaked WinUAE settings:
- 68030 CPU
- 68882 FPU
- CPU emulation speed 16x
- 8MB of FastRAM
- Options for those not running on Windows
Troubleshooting
- Keypad not working in WinUAE? In
Settings > Host > Game portssee if a Port is occupied by a keypad override, such as a virtual joystick. - “Error while opening DPaint: 103” means you need more RAM allocated to your Amiga virtual machine.
Getting your data
- If you have a host system folder set up as a "drive" in WinUAE, you have immediate access to its contents. By far the easiest way to access your work.
- XnConvert can trivially convert IFF images to any other format you can imagine.
- Page-flip animations are saved as a series of individual image files, one per frame, numbered sequentially. After batch converting them to .png, the resultant files can be handled by various free and open-source tools:
- ImageMagick:
magick -delay 1 -loop 0 my_dpaint_anim*.png anim.gif - GIMP: import images as layers, then export as GIF animation
- Ezgif.com: drag in your numbered images then click "Make a GIF!"
- ImageMagick:
- Saving out a color-cycle animation is tricky as it requires an application which understands indexed colors (common) and can also do color-cycling (rare!).
- Brute-force it with an OBS Studio window capture of the animation as it plays in a WinUAE window (I found Windows Snipping Tool stutters).
- DeluxePaint.js will load and play color-cycle animation, but doesn't have any video export options. I also saw mis-colored pixels in "presentation mode"
- Pro Motion NG has color-cycling, but doesn't seem to import IFF files.
What’s lacking
- I must reiterate that Kickstart and Workbench are owned by Amiga Forever. Minimum cost for Kickstart/Workbench 1.3 is US $20.
- One level of undo is definitely frustrating at times. Be sure to use your jump page
jto lay down brushes before altering them. - No layers means you have to get pretty creative with the stencils and background/foreground locks. It's not "intuitive" per se, but it is learnable.
- Other color modes exist, and were expanded as Amiga hardware improved. Deluxe Paint IV in AGA mode might feel more flexible to many readers.
- There have absolutely been useful advancements in pixel-art tools over the years. Aseprite's shading tool is very neat! While I'm not a fan of its UI, Pro Motion NG does a lot to bring Deluxe Paint tools into the modern day. It can even handle symmetry gradient contour fills, and beyond!
Ad Corner